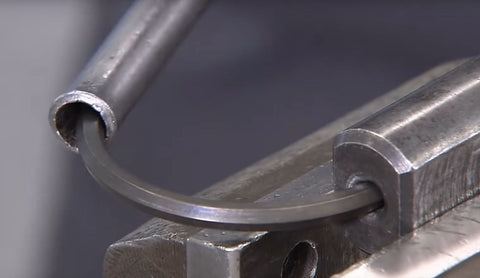
 If you’ve ever worked on an assembly line or in a factory, the wonder of how certain things are made can wear off pretty quickly. That said, learning how things are made is pretty cool if you’ve never seen it before. If you’re a fan of tools like we are, seeing how our favorite tools are made gives us an added appreciation when we use them. We’ll be looking at how other tools are made in the future, but today we’ll be looking at how L-Keys are made. While not all manufacturers will follow this exact process, “How it Works” has shown us all a glimpse of how PB Swiss makes L-keys and that should give us all some insight into how this cool tool is made overall.
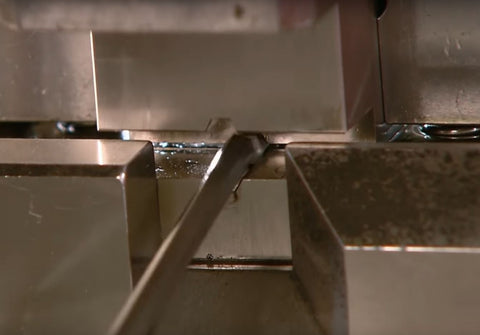 The life of a typical L-key starts out as four meter long hexagon-shaped steel bar. A certain amount of the steel bars are bent to test their strength to make sure they’re strong enough. This is where things get kind of cool. The steel bars go through a machine where they are cut to a smaller length. The die that cuts the bars is also hex-shaped to ensure the cut is as clean as possible. Once they’re cut down to size, it’s time for the next step.
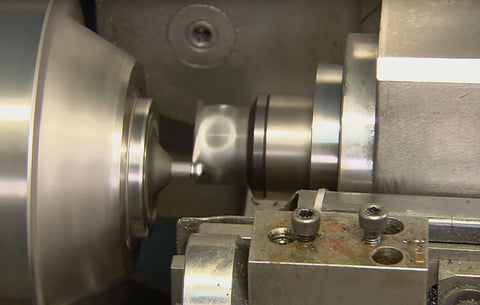 In the next step, the hex-shaped bar is worked on a lathe by computer controlled tooling, one side is worked so that the sharply cut edges get contoured to a rounded edge. The bottom end gets ground by tooling that creates the ball end but allows it to keep a hexagonal shape. So the ball end is round, but has straight edges further up, allowing the user to turn fasteners at angle. From there the hex-shaped bars are passed through a heating element where the metal becomes incredibly hot, then it goes to the bending machine where it’s bent at the perfect angle for the L-key. At last, the hexagonal bar is a hexagonal L-key!
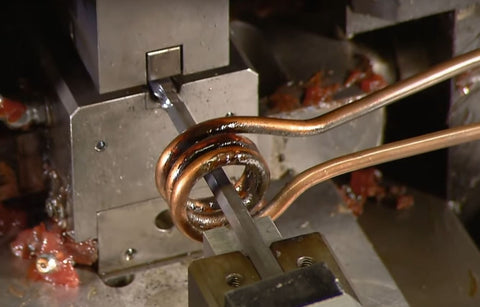 Once the L-key has achieved the right shape, the tool needs to be made stronger so that it doesn’t change shape again once it’s in use. To make them even stronger, the L-keys are heat treated, then quenched in oil and heated again. Heat treating steel tools increases the performance and reliability of a tool by altering the microstructure of the steel. As the steel is heated, it rearranges the carbon, iron and other atoms resulting in a stronger steel at the end of the process. The specifics of heat treating are outlined here, but basically, the steel starts in a phase where it’s easy to work with, then as it’s heated and quenched it becomes stronger due to various subatomic processes that aren’t worth getting into here.
 At this point, the tools are basically what they need to be in terms of size, shape and strength, however, they need to go through a few more steps. First, the L-keys are washed to remove the oil and any other impurities, then they’re polished in a giant tumbler with ceramic stones and removed with magnets. After the polish, the tools are tumbled with corn grit to remove any excess moisture – important to prevent rust. To ensure further protection against rust and corrosion, the L-keys get two baths for coating, one of nickel and one of chrome. Lastly, they’re tested for straightness and fixed as needed, then powder coated, and color coded depending on the brand.
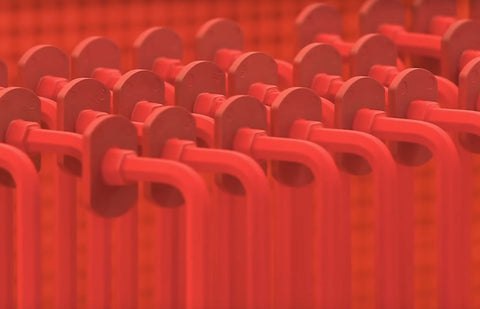 That’s pretty much how L-keys are made! Depending on manufacturer, there’s probably some minor differences in the processes, especially towards the end as some manufacturers don’t color code the tools and some have different types of coating they use. A manufacturer like Bondhus may dispense with some of the fanciness towards the end, whereas someone like Wera would maybe add or change some of the final steps to make them look a bit fancier. No matter which manufacturer you go with, the L-Keys we see here at Haus of Tools are the best L-keys we can find!


 At this point, the tools are basically what they need to be in terms of size, shape and strength, however, they need to go through a few more steps. First, the L-keys are washed to remove the oil and any other impurities, then they’re polished in a giant tumbler with ceramic stones and removed with magnets. After the polish, the tools are tumbled with corn grit to remove any excess moisture – important to prevent rust. To ensure further protection against rust and corrosion, the L-keys get two baths for coating, one of nickel and one of chrome. Lastly, they’re tested for straightness and fixed as needed, then powder coated, and color coded depending on the brand.


Leave a comment